The Perfect Dessert to Make Together: Pineapple Upside Down Cake
Some of our most treasured memories started in the kitchen. Some of my fondest memories were making gingersnaps with my mom at Christmastime. Tom remembers spending weekends in the kitchen with his grandmother making bread and gathering pecans and avocados from her fruit trees. Many recipes are easy for one person to make, but now that we all have more time together, let’s make it count and build more memories. Making a pineapple upside-down cake is the perfect dessert for couples or families to make together.
A pineapple upside down cake is not something you can just “whip up” in a jiffy. It does take a bit of time and coordination. The topping, the fruit and the batter make this the perfect dessert to create as a couple or as a family. That moist cake with the sweet tartness of pineapple are heaven to your taste buds, so grab a partner and an apron and let’s make a masterpiece!
History of the Pineapple Upside Down Cake
Upside down cakes have been around since the Middle Ages. Back then, people would throw some fruit and sugar into a cast iron skillet, top with batter, and cook over an open fire. When it was ready, they would flip it over to display the sweet fruit on top and the sugar juices would seep into the cake. Fruits like apples, cherries and peaches were typical for upside down cakes. The pineapple gained popularity in the 1900s thanks to James Dole of the Hawaiian Pineapple Company promoting this tropical fruit.
Making the Pineapple Upside Down Cake
Many recipes are easy for one person to follow, but some recipes are a little more complicated and require more than two hands. Pineapple upside down cake is one such recipe with many different parts to the dish, and benefits from an extra hand or two. One person can concentrate on mixing the dry and wet ingredients for the batter, and the other person can focus on cutting the fruit and making the caramel topping. When its time to combine the fruit in the pan and pour the batter on top, everyone can join in!
Tom and I put together this pineapple upside down cake recipe for you complete with kitchen equipment you will need plus options and/or alternatives to certain ingredients.
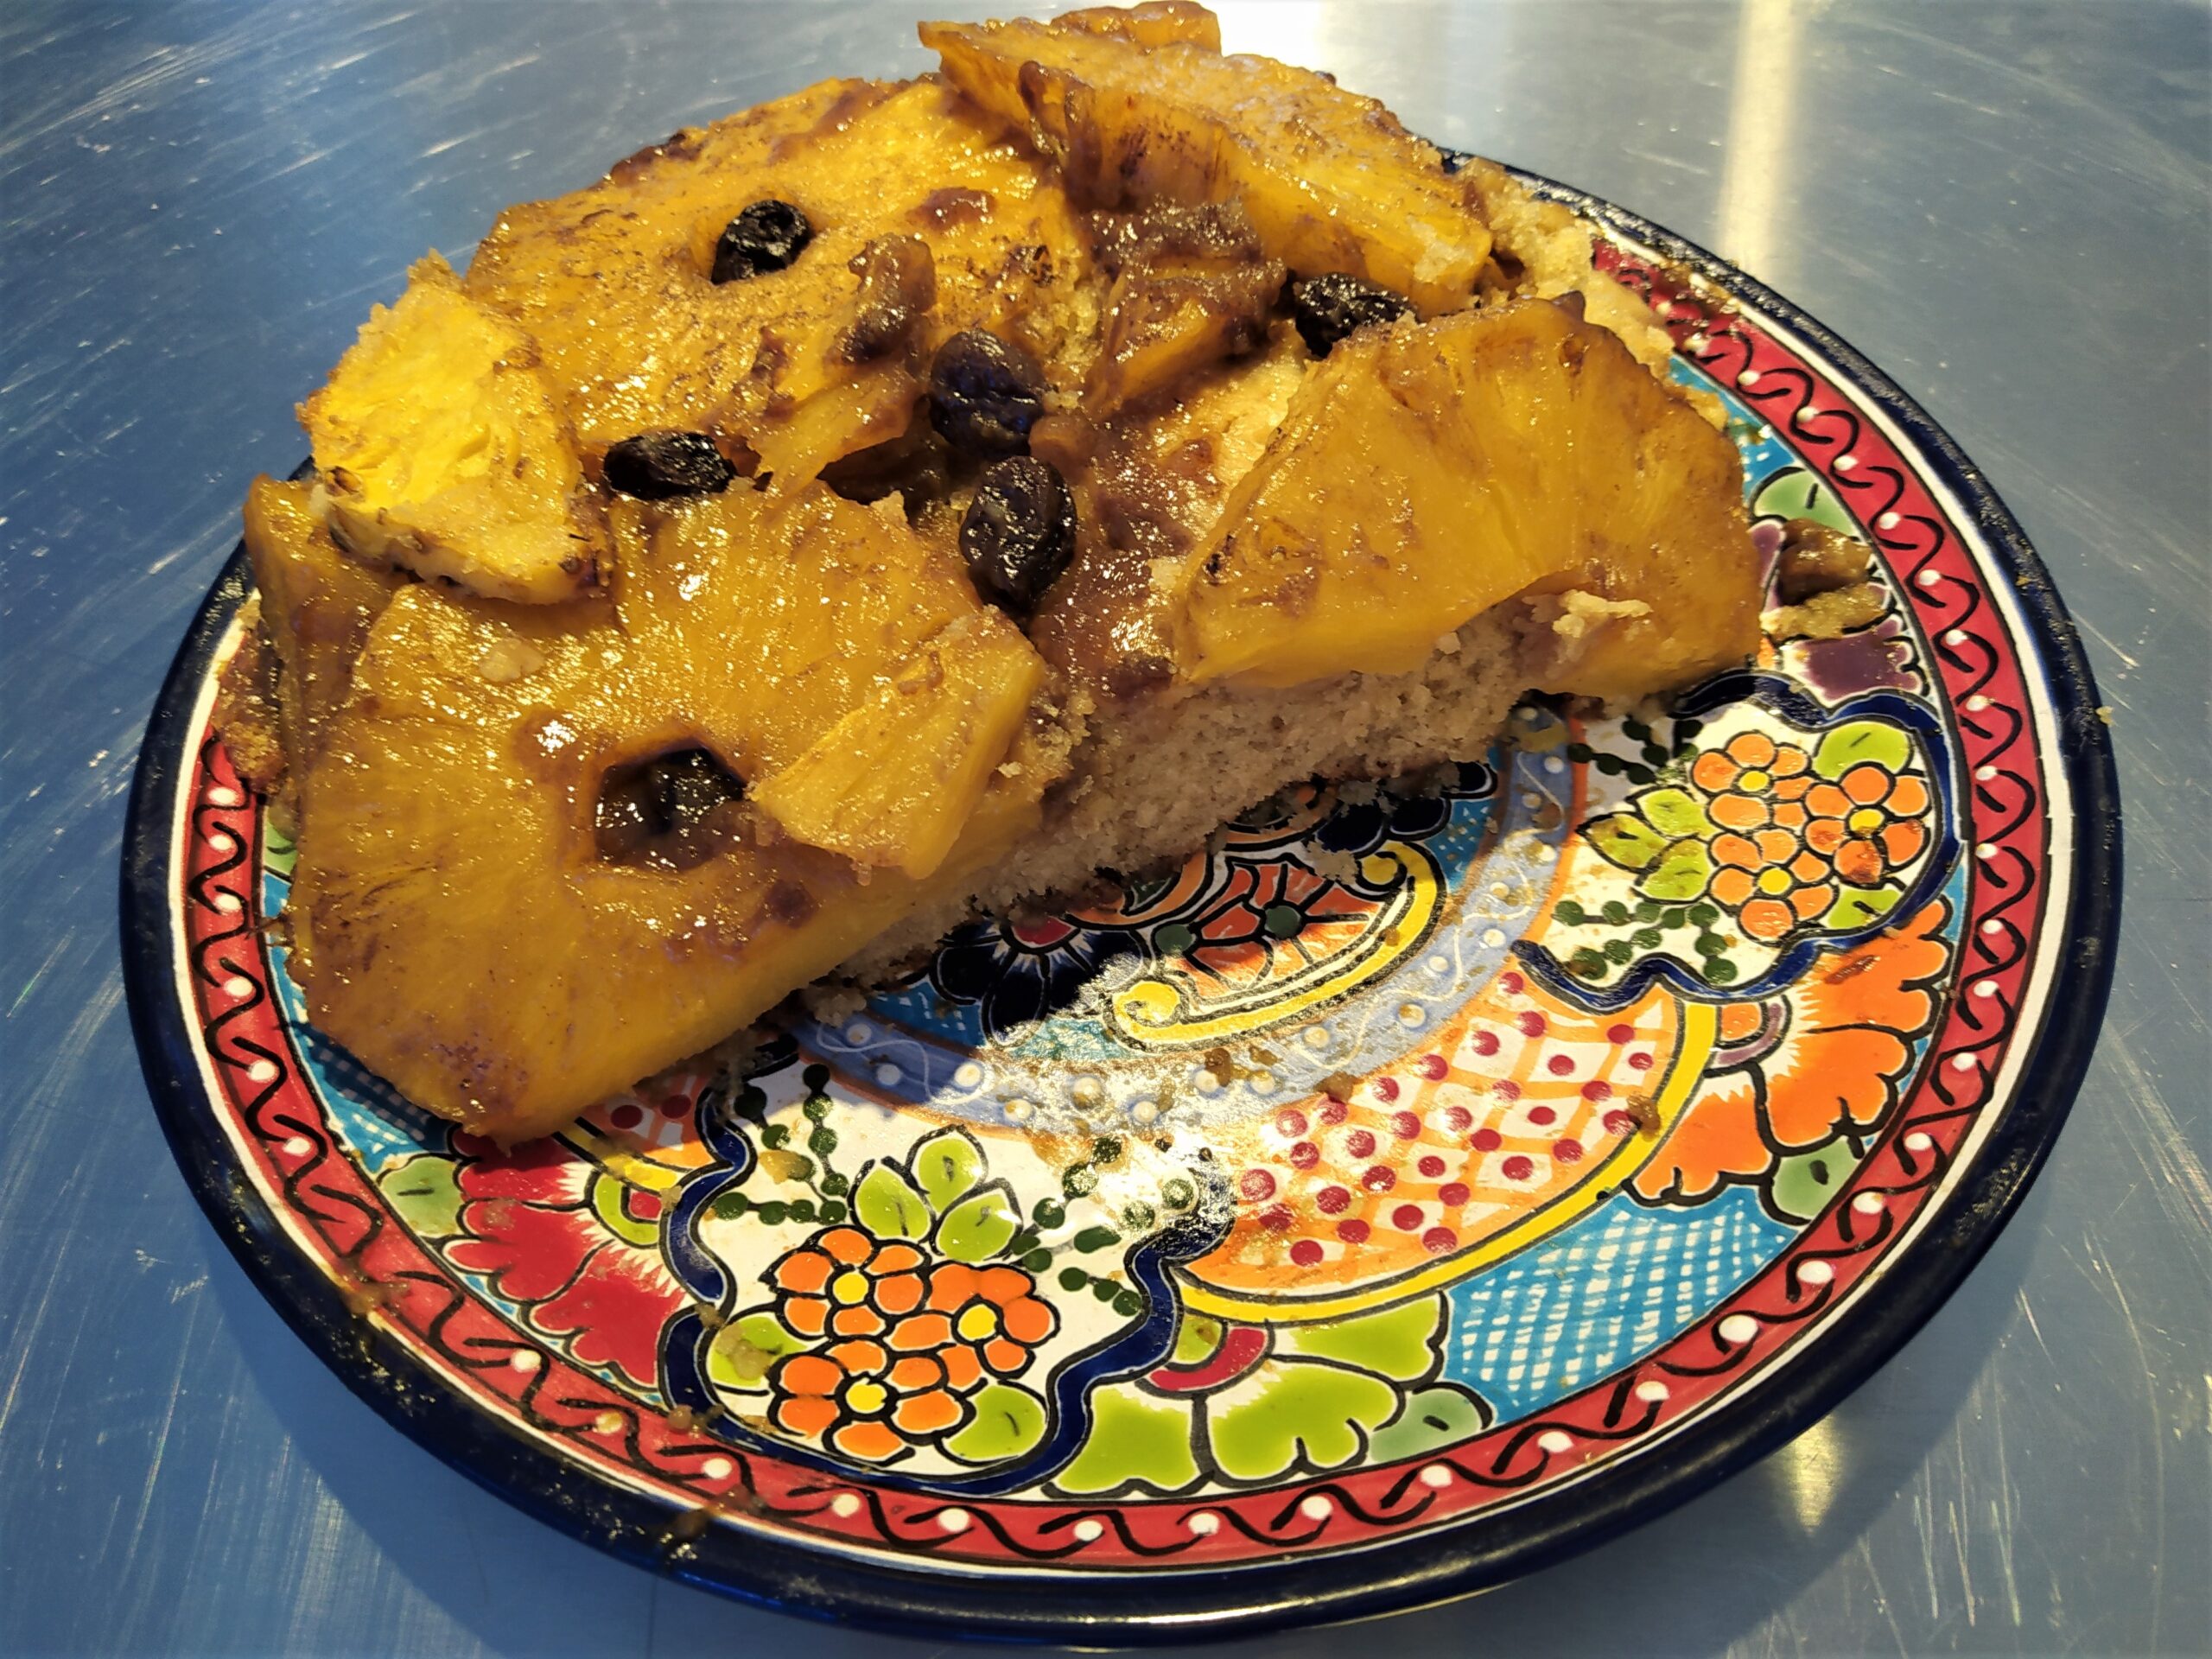
If you want a picture-perfect pineapple upside down cake, buy canned fruit. We prefer fresh fruit and ingredients whenever possible. If you decide to use fresh pineapple (like we did) you will get as extra juicy cake.
The flipping of the cake in the pan is the hardest part. Flipping a hot baking pan onto a plate has to be just right. You will want a flat plate and preferably much larger than your cake pan. If you’re ready, let’s get started!
Prep Time: 30 minutes
Cook time: 45-50 minutes
Cooling time: 25-30 minutes
Total time: Less than 2 hours
Servings: 8 slices
OPTIONAL: Macerate the Fruit in Rum, Mezcal or Other Liquor.
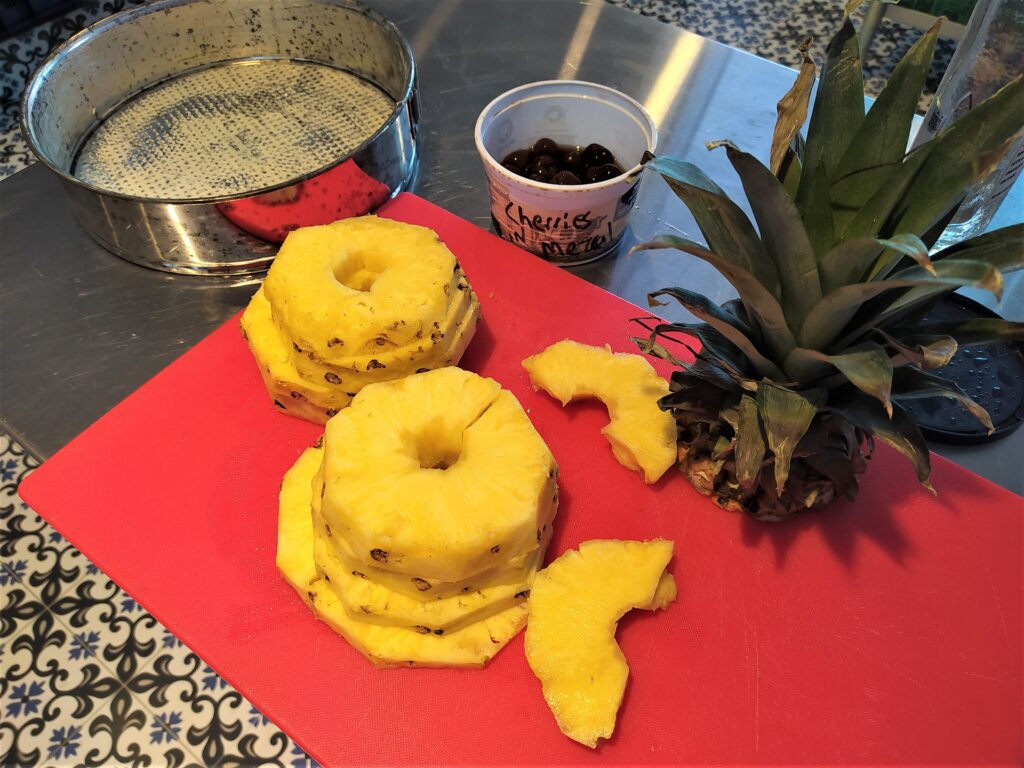
If you would like to spike your fruit with rum or another alcohol, prepare this the day before. We macerated our cherries in mezcal for a few days, but overnight is enough time.
Put some cherries in a bowl and cover with your choice of alcohol. In a separate bowl, cover the pineapples with your choice of alcohol.
Cover the bowls and place in the fridge overnight.
Equipment Preparation for Baking a Pineapple Upside Down Cake
For pineapple upside down cake, you will need a variety of kitchen equipment. You will be cutting, whisking, stirring, cooking, smoothing and measuring.
- Cutting board and knife for the pineapple
- 9-inch cake pan
- Medium mixing bowl
- Large mixing bowl
- Small saucepan
- Hand beater or mixer
- Spatulas to make batter and to smooth caramel topping and batter
- Measuring Spoons
- Measuring cups
- Knife or spatula to separate cake from pan edges
- Large flat plate
INGREDIENTS
For the topping:
- ¼ cup unsalted butter, melted
- ½ cup brown sugar (light or regular)
- 1 ripe pineapple or a 20-ounce can pineapple slices (keep juice for the cake)
- 20-30 maraschino or black cherries, pitted
For the cake:
Dry ingredients in one bowl:
- 1 and ½ cups all-purpose flour, (level the cups)
- 1 and 1/2 teaspoons baking powder
- 1/4 teaspoon salt
Wet ingredients in another bowl:
- 1/2 cup unsalted butter, softened to room temperature and cut into cubes
- 1/2 cup granulated sugar
- 1/4 cup brown sugar
Add these ingredients after mixing the sugars and butter together:
- 2 large eggs room temperature
- 1 teaspoon pure vanilla extract
- 1/4 cup sour cream or plain yogurt
- 1/4 cup whole milk
- 1/4 cup pineapple juice
INSTRUCTIONS
Preheat oven to 350°F. Grease the cake pan with either non-stick cooking spray or butter. (we like butter).
To make the cake batter:
- In a large mixing bowl, whisk together the flour, baking powder, and salt. Set aside.
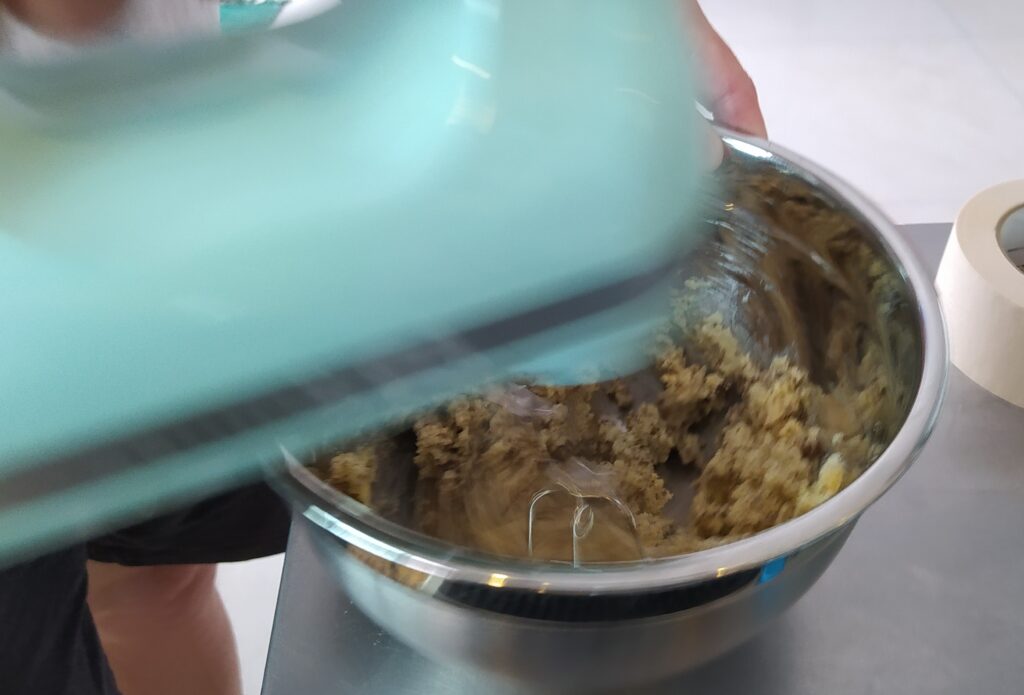
- In a separate medium to large bowl, beat the butter, granulated sugar, and brown sugar with an electric or hand mixer until light and fluffy (about 4-5 minutes).
- Add the eggs one at a time, mixing after each one.
- Mix in the vanilla extract and sour cream until smooth. Scrape the sides of the bowl occasionally to get everything mixed evenly together.
- Mix the dry ingredients on low speed into the wet ingredients in three separate parts.
- Add the milk and mix.
- Add the pineapple juice and mix. Batter is ready.
To make the caramelized topping (make this last):
- In a small saucepan, melt the butter and brown sugar over low heat.
- Stir continuously until you get a medium- thick caramel.
- Pour into the greased cake pan and spread evenly on the bottom.
Arrange the pineapple slices on top of the caramelized mixture.
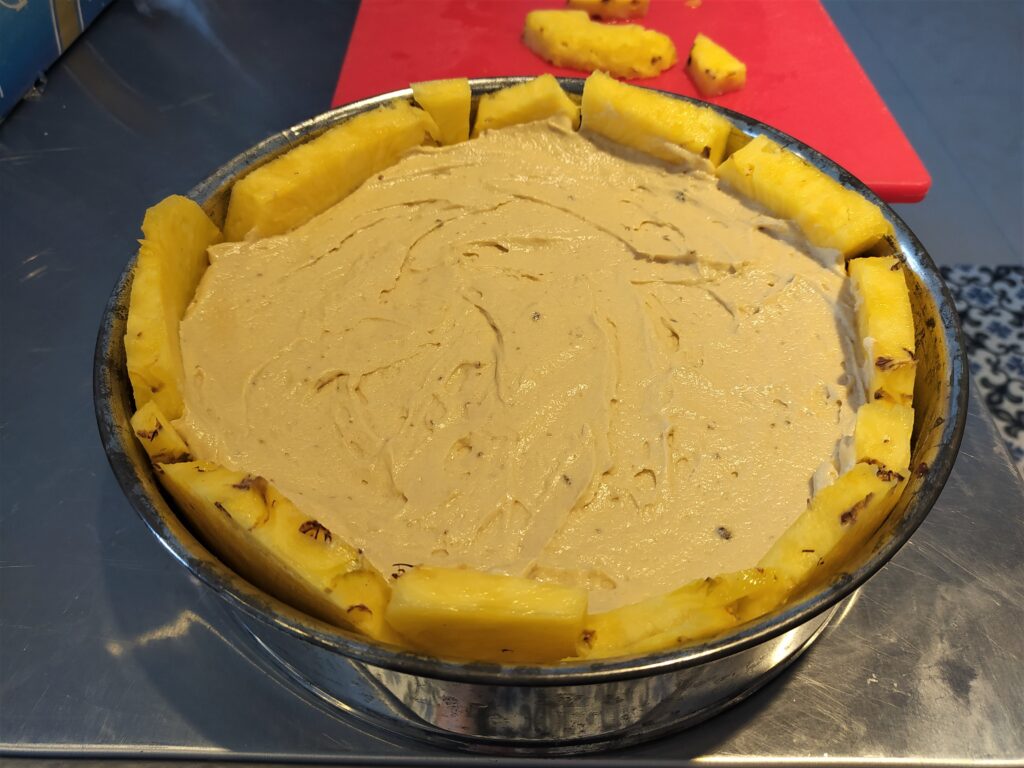
Cut any extra slices in half and place along the sides of the pan. If parts of the pineapple slices are taller than the pan, cut to the height of the pan.
Fill in available spaces with the cherries. Because the pineapple slices and cherries might not stay in place, do this step just before you pour in the batter and get an extra hand if needed.
Pour the batter into the cake pan 2/3 of the way full. Spread evenly to the sides.
Bake at 350°F for 45-55 minutes.
Use a wooden toothpick to test the center for doneness. You want the toothpick to come out clean without any cake stuck to it. If the cake looks like it’s getting too brown, cover with aluminum foil to prevent it from darkening more.
Remove the cake from the oven and allow to cool for about 25-30 minutes in the pan. (We inverted the pan after 15 minutes and half of the cake fell apart.)
Use a spatula or knife to cut the cake away from the sides of the pan.
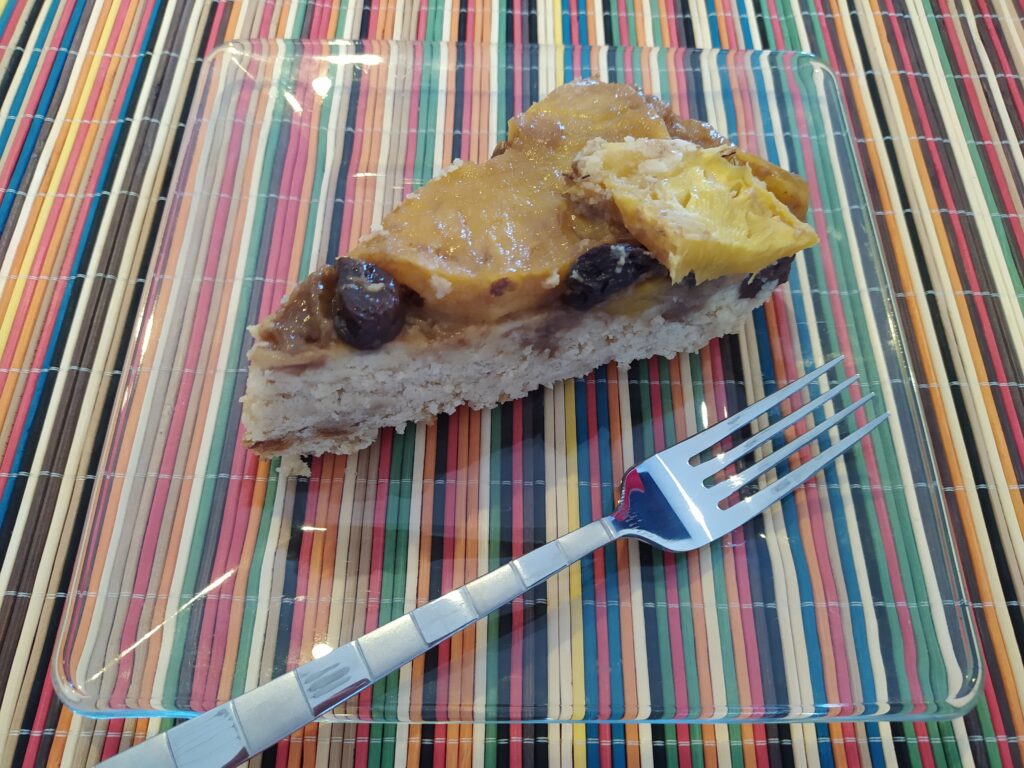
Place a large plate on top of the cake pan, hold firmly and turn upside down. Let it sit for a few minutes before pulling the cake pan away.
Let it cool for another 10 minutes before serving. Enjoy!
Storage
Store in an airtight container in the refrigerator for up to 3 days.





It was perfect the first time. I learn so much from you as well! Keep it up great post.